
Creating a white Spot channel
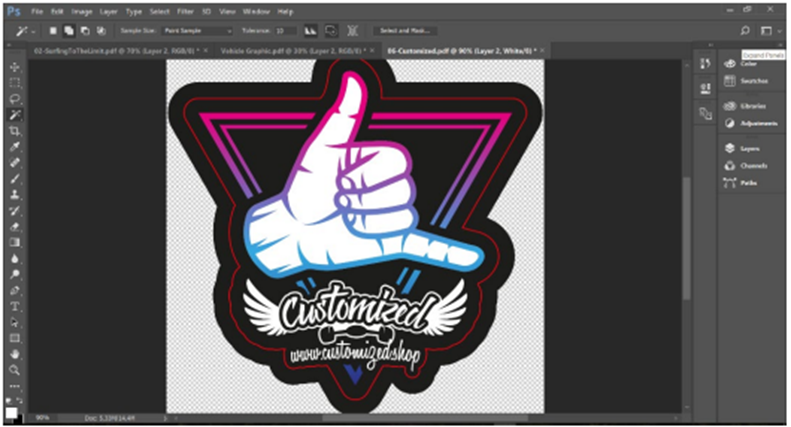
White ink data is defined in Photoshop using a “spot channel.” In Photoshop, create or load an existing file. Ensure that the Channels window’s visible. If you do not see it, click on Window and select Channels.
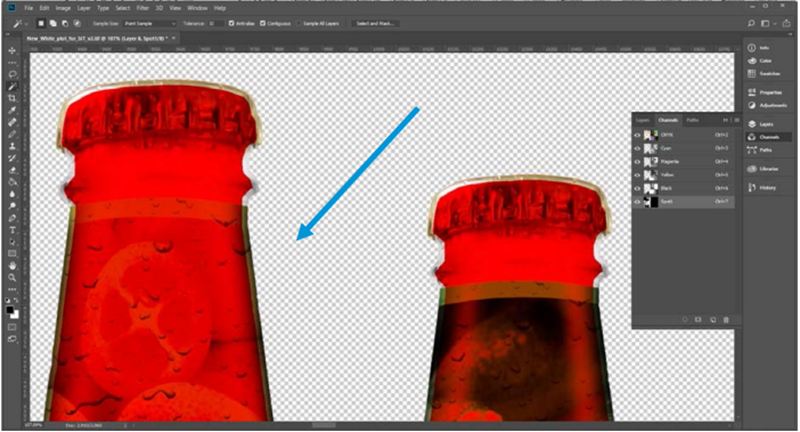
Select the part of the file that will be printed with white later. In the case below, the parts appearing in white will have white ink.
Create a new channel using the Create new channel icon on the right corner.
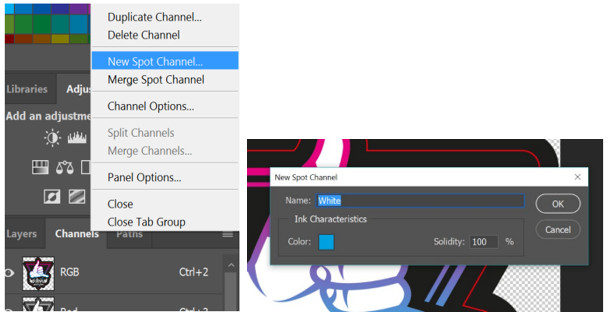
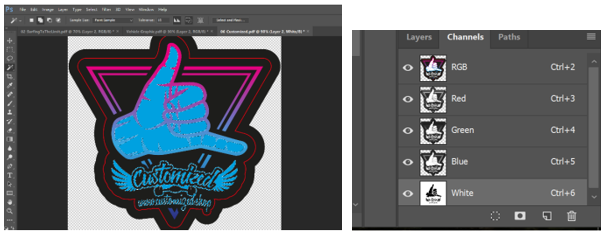
When you first create your new channel, it will be called “Spot” and you will see the channel fill the entire image at 100% coverage. You will have the ability to change its name, color, and opacity. The color and opacity are only a visual representation of the channel within the application and do not affect the printed output. The name is important as it needs to be associated with the white ink channel in the RIP. Both Onyx and Caldera allow you to use any name and map that name to the white ink within the RIP, and each has a default name. For simplicity and clarity, only the default names will be used in this document. For Onyx, rename the Spot Channel to “Spot1.” For Caldera, rename it to “White.”
When you save your file, you will see Spot Colors checked under Save Options. This is available only when you have assigned your channel as a spot color. By default, this option is checked.

Saving the file as a TIFF or PDF, the file can be opened directly from the RIP and printed using its spot channel information. If this raster file is going to be imported into another Adobe application, such as Illustrator or InDesign, it must be saved as a Photoshop PSD, otherwise, the spot channel data will be discarded when imported.
Creating a choke
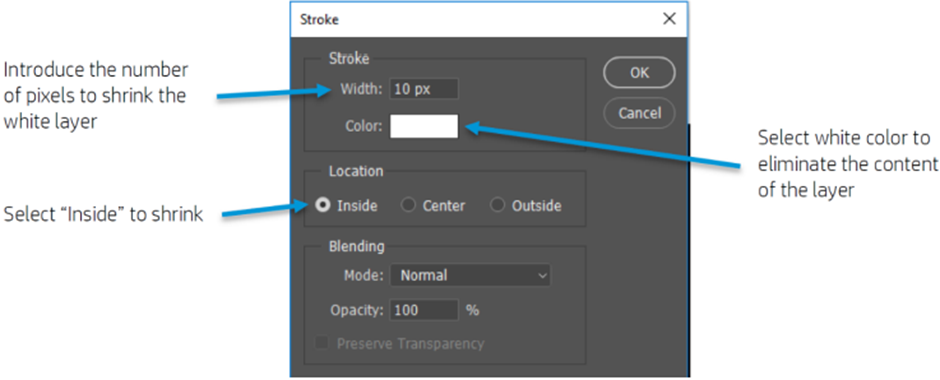
Sometimes, white ink can show misalignment, and white ink will go out of the image area. To avoid this, the file can be “choked” in Adobe Photoshop.
Select, in the white channel, the area to shrink. Go to Edit, then Stroke. Apply the Stroke desired to the white layer.
By increasing it, the white layer goes inside the colored layer.
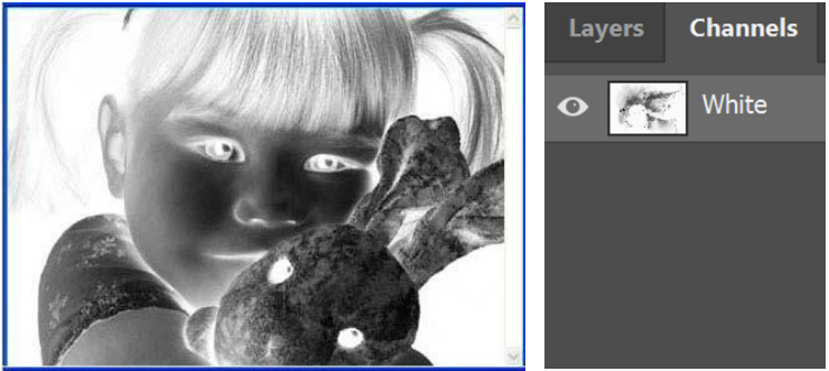
Creating a “whitescale” image
Printing grayscale images using only white ink is a fairly simple process and produces impressive results when printed on black media.

Open a file in Photoshop. Convert it to grayscale by selecting Image >Mode, and then Grayscale. Go to the Channels window and click the New Spot Channel icon. A new spot channel is created. Select the name depending on the RIP you will be using.
Select the original channel and invert it by selecting Image > Adjustments, and then Invert. Select and copy the entire image to the new channel. Go back to the original channel and delete all of its contents (select all > delete). Save the file as a TIFF with Spot Colors selected.
Here you can access the full White Ink Workflow Guide for the HP Latex 700W, 800W, and R Series Printers.