How to prepare the printer for printing again
1. If ink was flushed, contact your service representative to recover the printer.
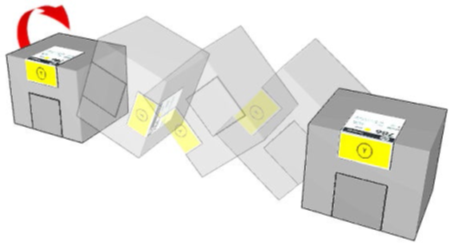
2. Place the cartridge on a flat surface and turn it four times (rotating it through 360 degrees), as indicated on the label, to ensure that the ink is well mixed before use:
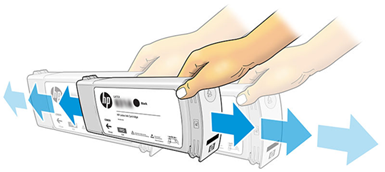
3. Insert all ink cartridges back into the original ink channels.
4. Remove each intermediate tank as shown in the following steps, place it horizontally on a flat surface and turn it four times (rotating it through 360 degrees) to mix the ink inside each tank, then insert back into the original position.
IMPORTANT: In order to avoid mixing the positions of the intermediate tanks, always perform this procedure one intermediate tank at a time.
a. Remove the screws and the cover to access the intermediate tanks.
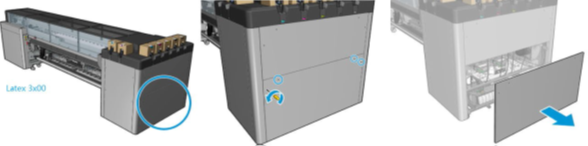
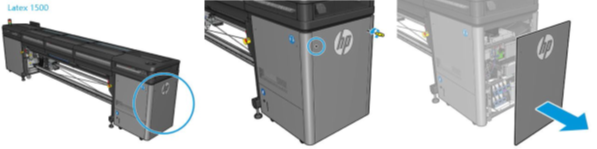
b. Remove the intermediate tank and shake it for 15 seconds before reinstalling.
c. Reinstall the intermediate tank after the process is complete.
d. Repeat steps b and c for each intermediate tank.
e. Place the cover back in position with the screws.
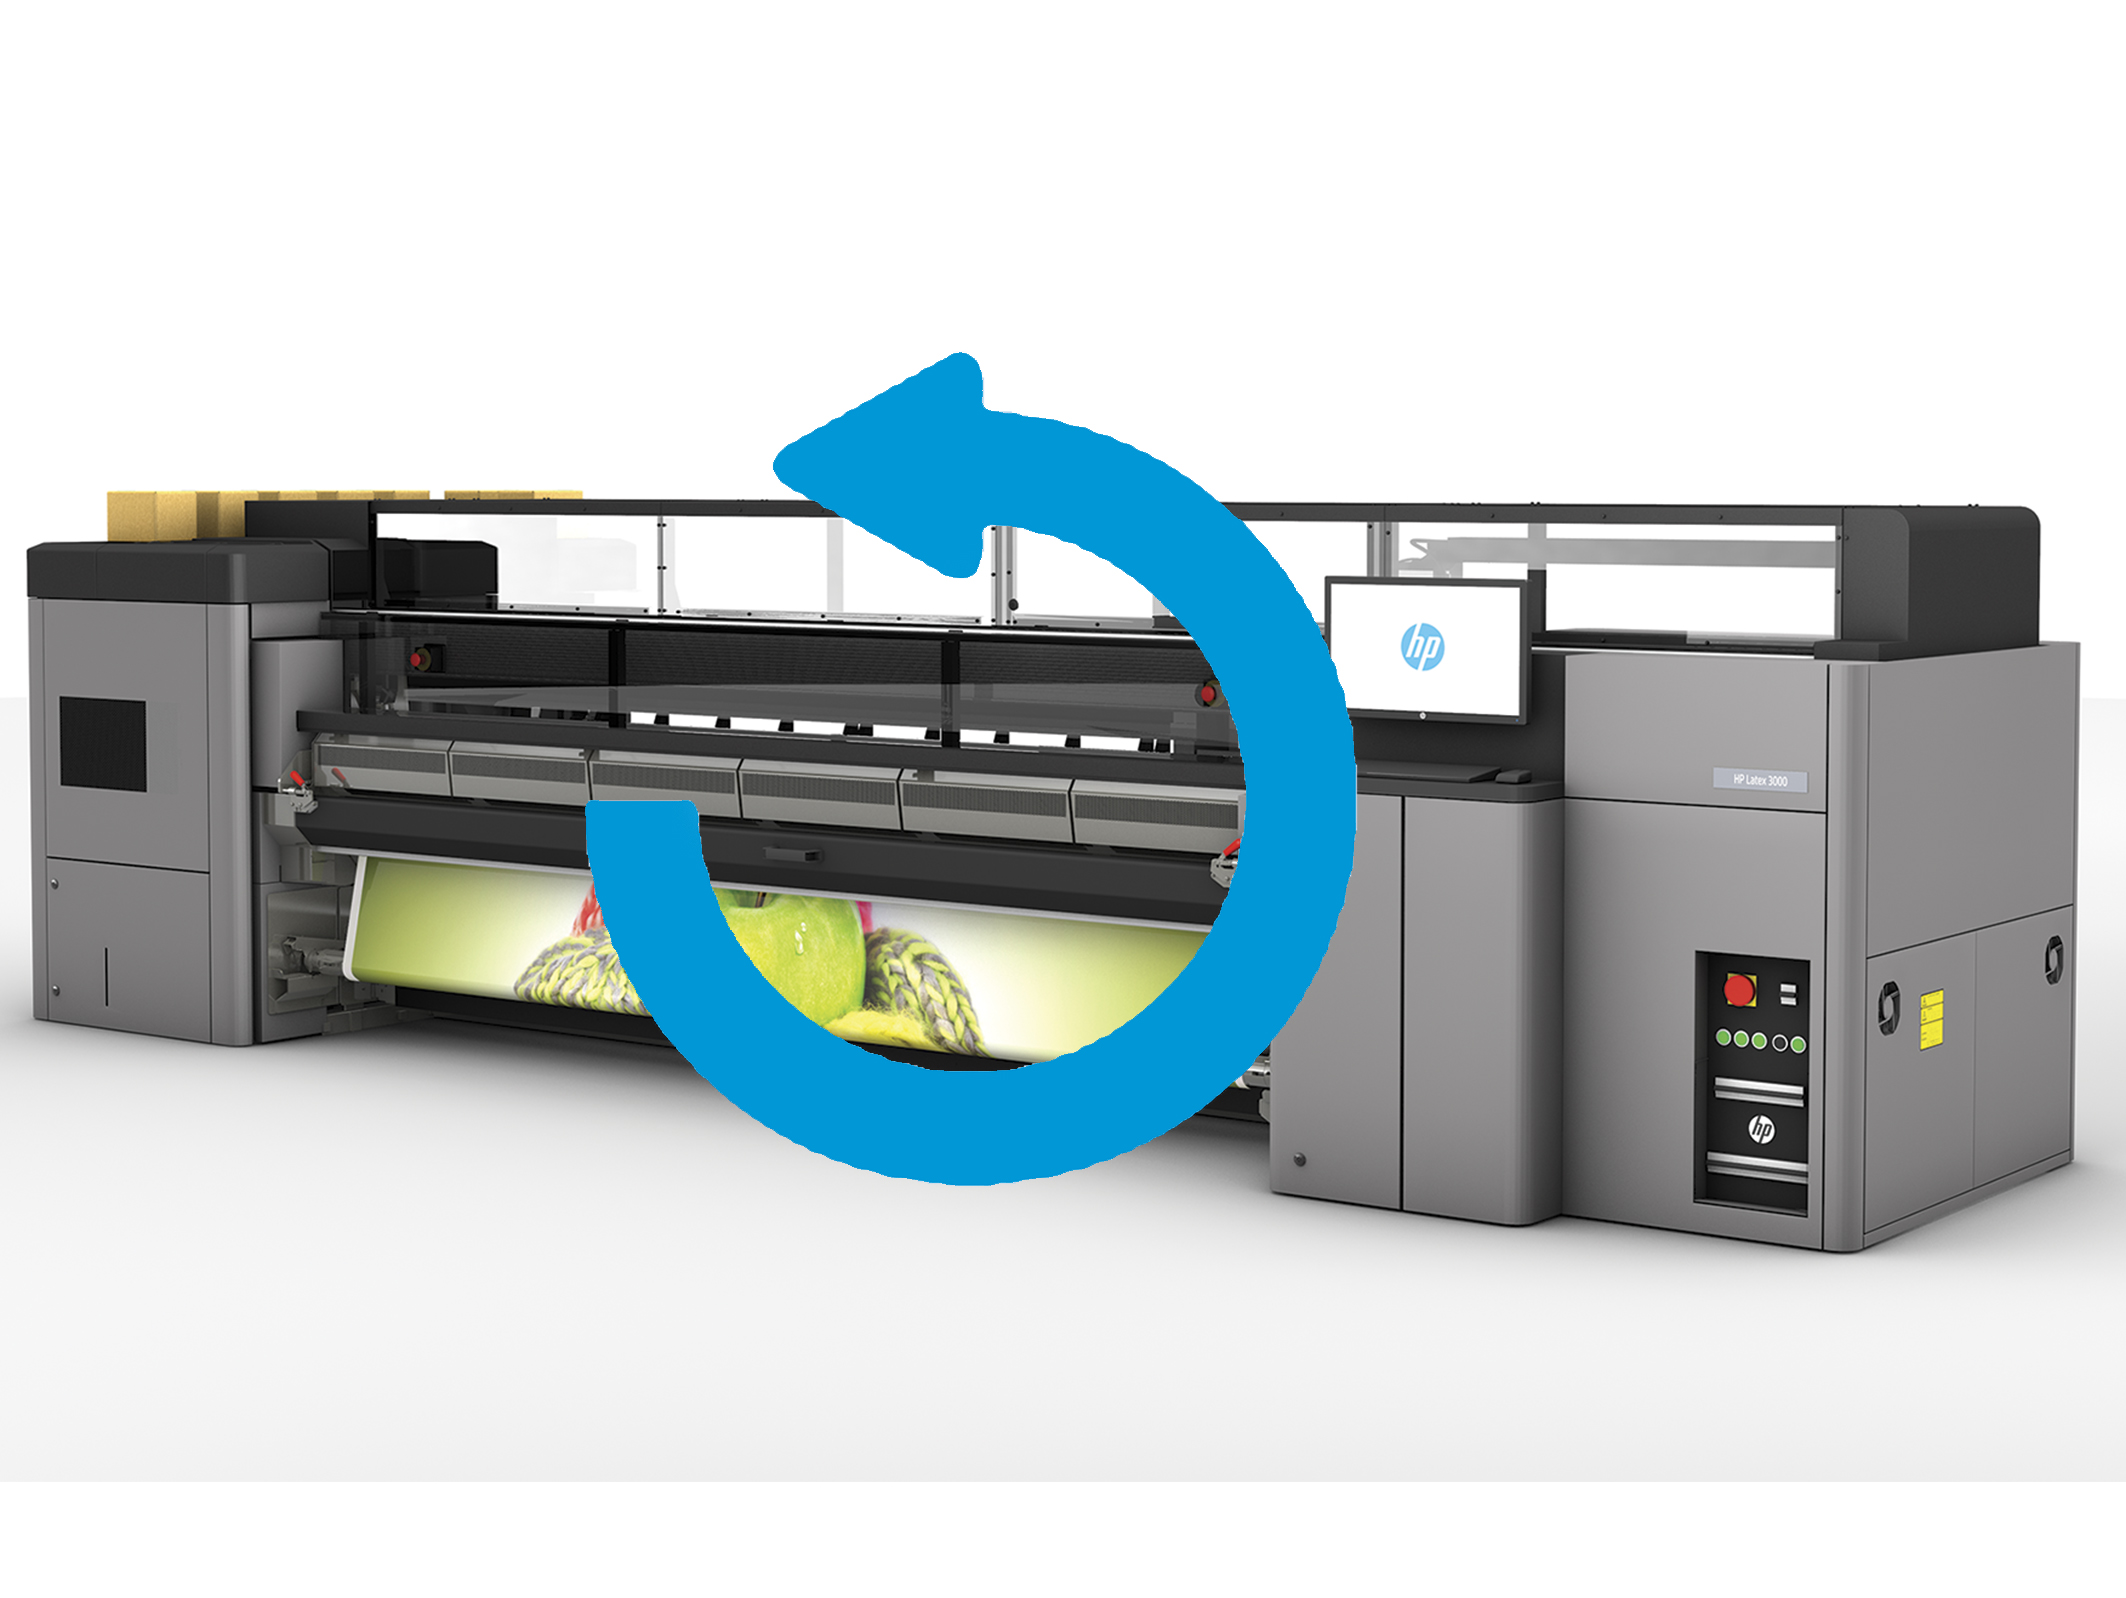
5. Turn ON the wall circuit breaker, the printer, and the IPS PC, in this order.
Steps 6 to 12 need to be followed sequentially in order to maximize the chances of printhead recovery.
6. The printheads that have been removed from the printer must be shaken 10 times according to the following image:
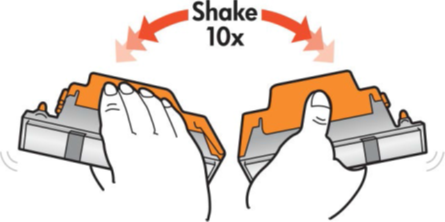 IMPORTANT: If the orange caps (plastic and rubber) are not available, do not shake the printheads.
7. Only if the printheads have been removed, before inserting the printheads in the printer, for all colors except the optimizer, follow the “Manual printhead cleaning procedure” available on this link.
IMPORTANT: Make sure not to pour any water on the electrical contacts or any other part of the printhead aside from the nozzles, since this could damage the printhead irreversibly.
8. Only if the printheads have been removed, insert the printheads by following the replacement procedures Printer > Replace printheads. Be sure to insert them in the correct slot by following the previously labelled positions for each one. When the printheads are inserted, the printer will automatically perform some printhead cleaning routines.
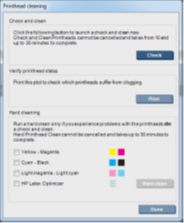
9. Perform a printhead Hard Clean routine for all colors.
10. Use the Printhead Gauge functionality (available only for Latex 3x00 with “FW ALTAMIRA_15_00_10.3”); alternatively, use the "Nozzle Health plot" to evaluate the printhead health. If the PH health requires improvement, continue with steps 11 and 12.
|
11. Perform a printhead Hard Clean on all colors where the printhead health requires improvement. 12. Once Hard Clean is completed, evaluate printhead health as recommended in step 10. If the PH health is recovered, move to step 13. Otherwise, repeat steps 10 and 11 with up to 3 Hard Clean routines. 13. Complete a printhead alignment calibration. 14. The printer should now be ready to start production. |
 |
For any additional help or clarification, please contact your support representative.